Story:
Characters:
Vehicles & Mecha:
Reaverbots:
Game Guides:
Instruction Booklets:
Official Artwork:
Wallpapers:
Screenshots:
Sprites:
Video Clips:
Audio Clips:
Music Downloads:
Singles & OST:
Development:
Credits:
[ MML1 ] [ MML2 ] [ MML3 ] [ MOTB ]
[ MML1 ] [ MML2 ] [ MML3 ] [ MOTB ]
[ MML1 ] [ MML2 ] [ MML3 ] [ MOTB ]
[ MML1 ] [ MML2 ] [ MML3 ] [ MOTB ]
[ MML1 ] [ MML2 ] [ MML3 ] [ MOTB ]
[ MML1 ] [ MML2 ] [ MML3 ] [ MOTB ]
[ MML1 ] [ MML2 ] [ MML3 ] [ MOTB ]
[ MML1 ] [ MML2 ] [ MML3 ] [ MOTB ]
[ MML1 ] [ MML2 ] [ MML3 ] [ MOTB ]
[ MML1 ] [ MML2 ] [ MML3 ] [ MOTB ]
[ MML1 ] [ MML2 ] [ MML3 ] [ MOTB ]
[ MML1 ] [ MML2 ] [ MML3 ] [ MOTB ]
[ MML1 ] [ MML2 ] [ MML3 ] [ MOTB ]
[ MML1 ] [ MML2 ] [ MML3 ] [ MOTB ]
[ MML1 ] [ MML2 ] [ MML3 ] [ MOTB ]
[ MML1 ] [ MML2 ] [ MML3 ] [ MOTB ]

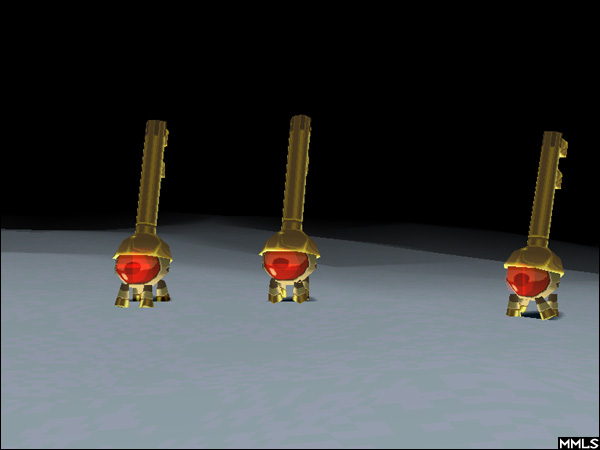
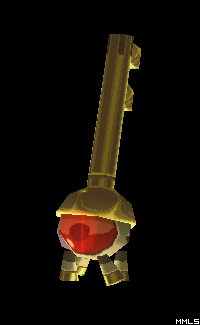
MML2 Reaverbots - Hangekal

Hangekal
Hit Points: --- (B), --- (A), --- (S)
These little reaverbots are actually keys, which come in a set of three required to reach the refractor in the Calinca Ruins

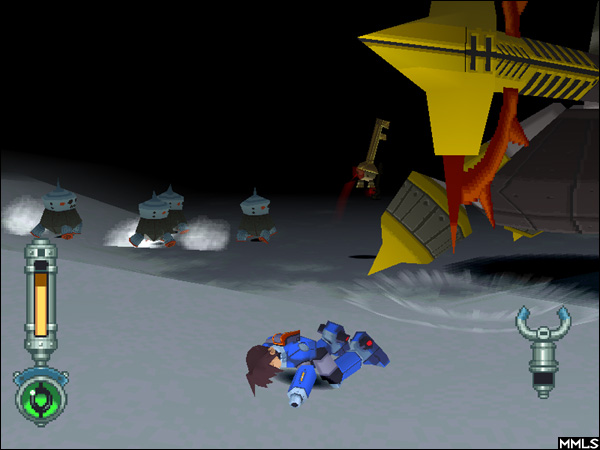
If there's one thing these little guys know how to do, it's flee. The Hangekal are not about to let themselves get caught and will give diggers seeking to catch them quite a run for their money. This task would not prove to be so very difficult if not for the Hangekal's location, which happens to be in a large room filled with lethal reaverbots.